They’ve been around for a while, but virtual tours of properties for sale and rent have really come into their own in 2020.
Between COVID-19 rules restricting movement in some parts of Australia to a more general growing preference for everything to be available online, virtual tours are the new must-have for selling and rental campaigns.
While agents usually shoot footage themselves or outsource to a professional videographer, property owners themselves are increasingly being asked to take footage, too.
Regardless of who is doing the filming, there are five golden rules to follow. Here’s the top tips from the experts.
1. Style it up
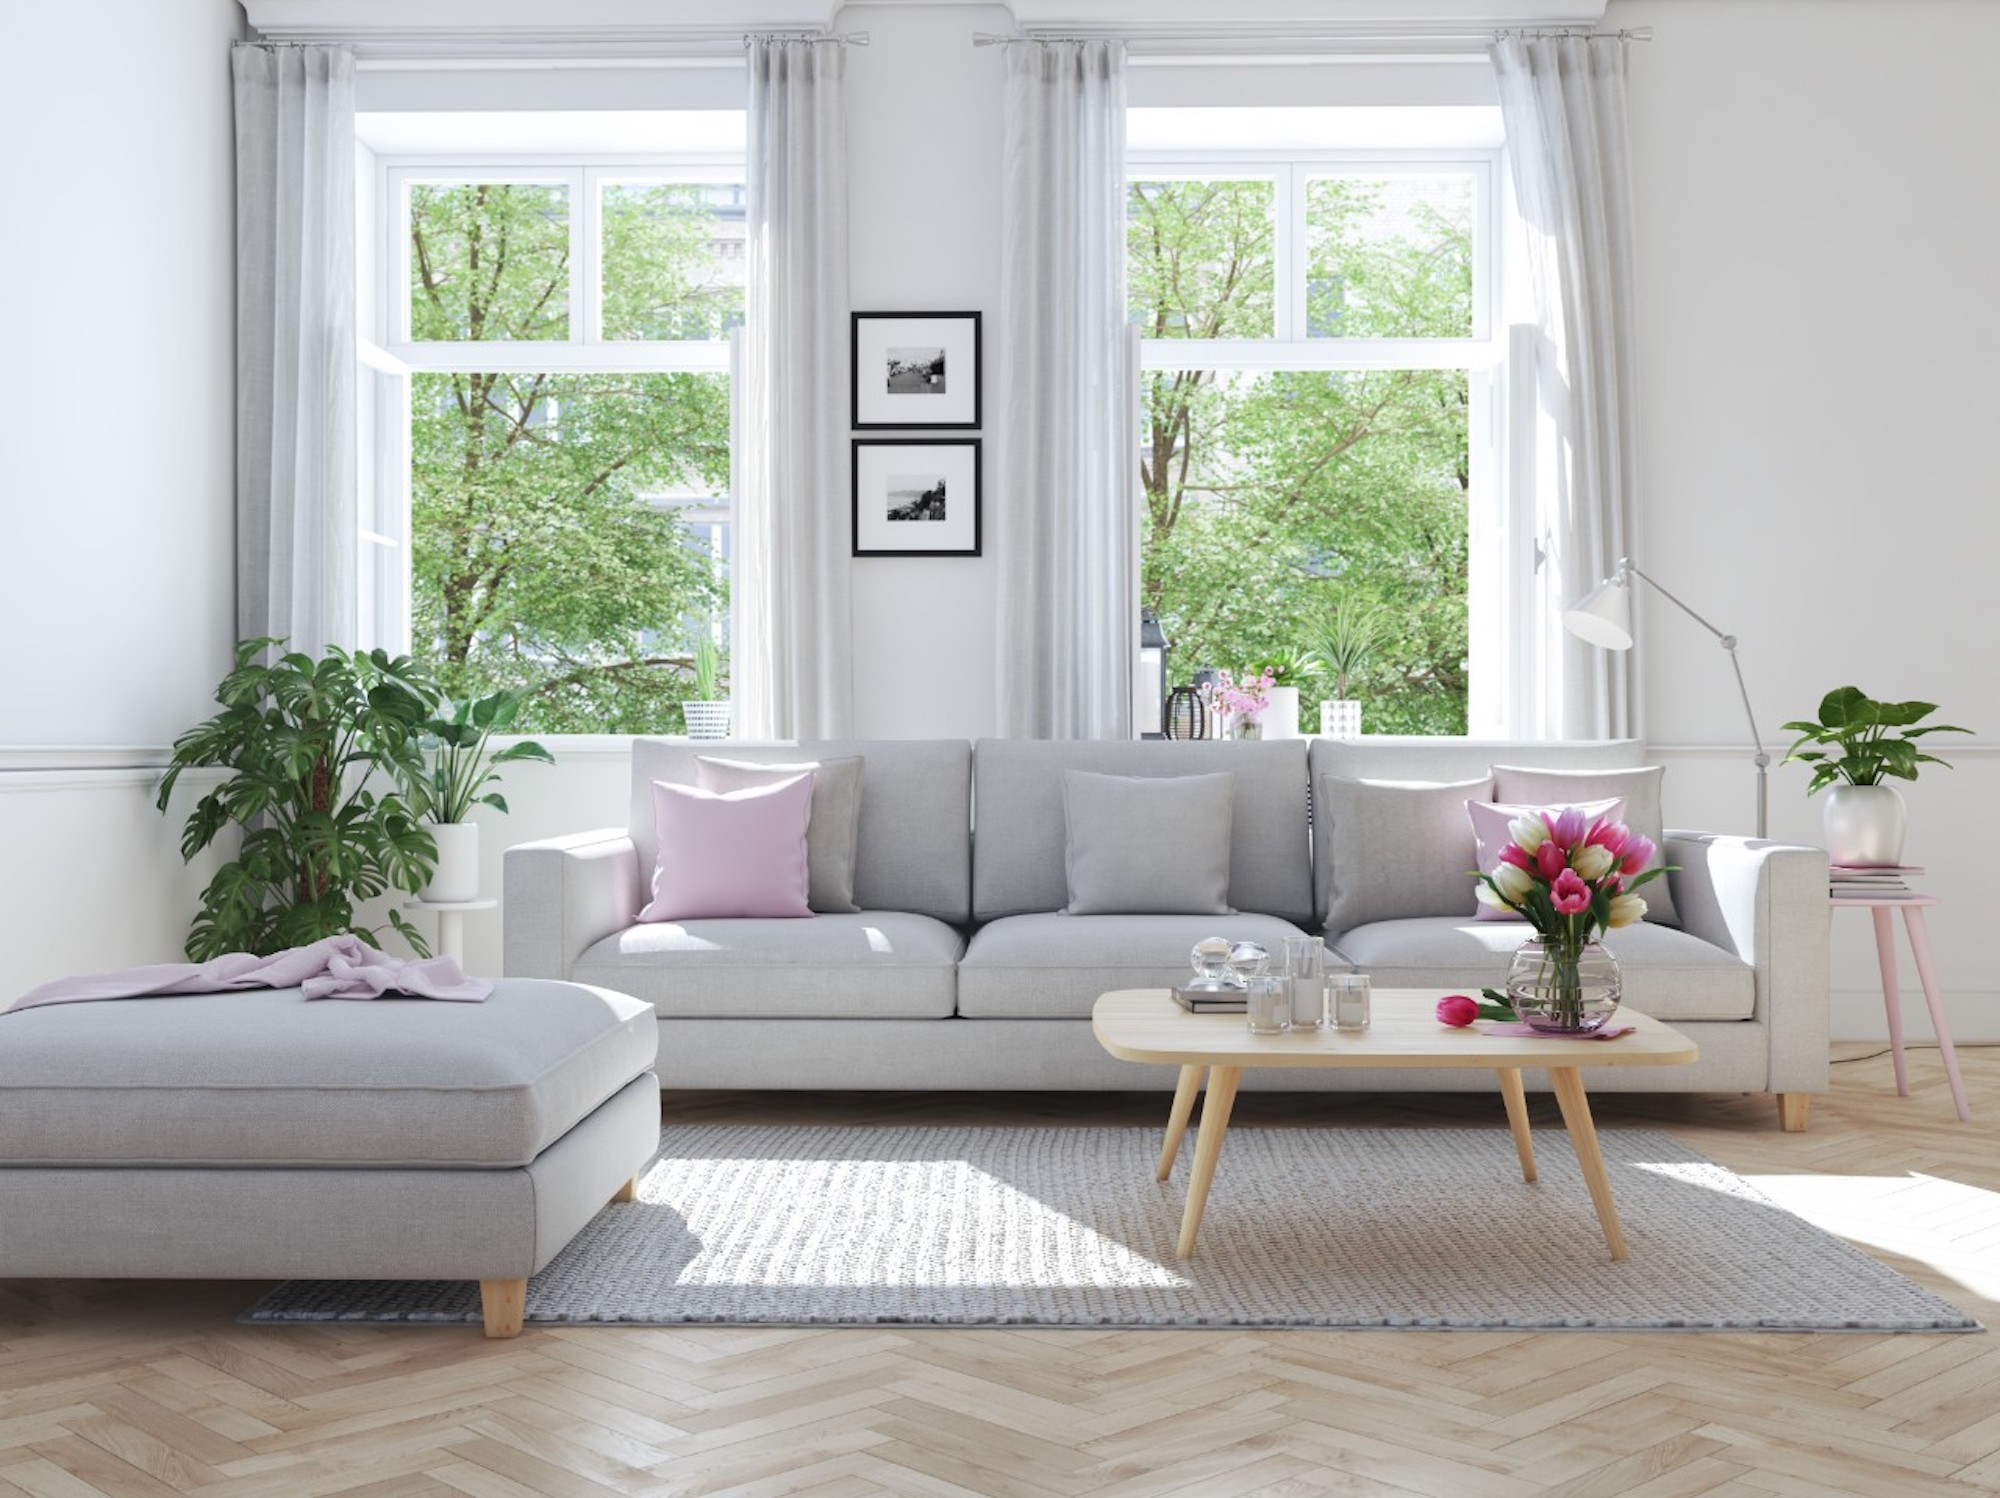
Atlanta Bell is from Brisbane-based Hocus and specialises in creating high-resolution 360° virtual tours and virtual interactive tours for yet-to-be-built properties. She said before even picking up a phone or camera, think about how rooms are styled.
“Adding in details like artwork or floral arrangements can really make a room ‘pop’. If your space has a lot of character, consider removing some decorative elements so prospects can envision how they themselves would style it,” Ms Bell said. “Also ensure everything is as neat and tidy as possible.”

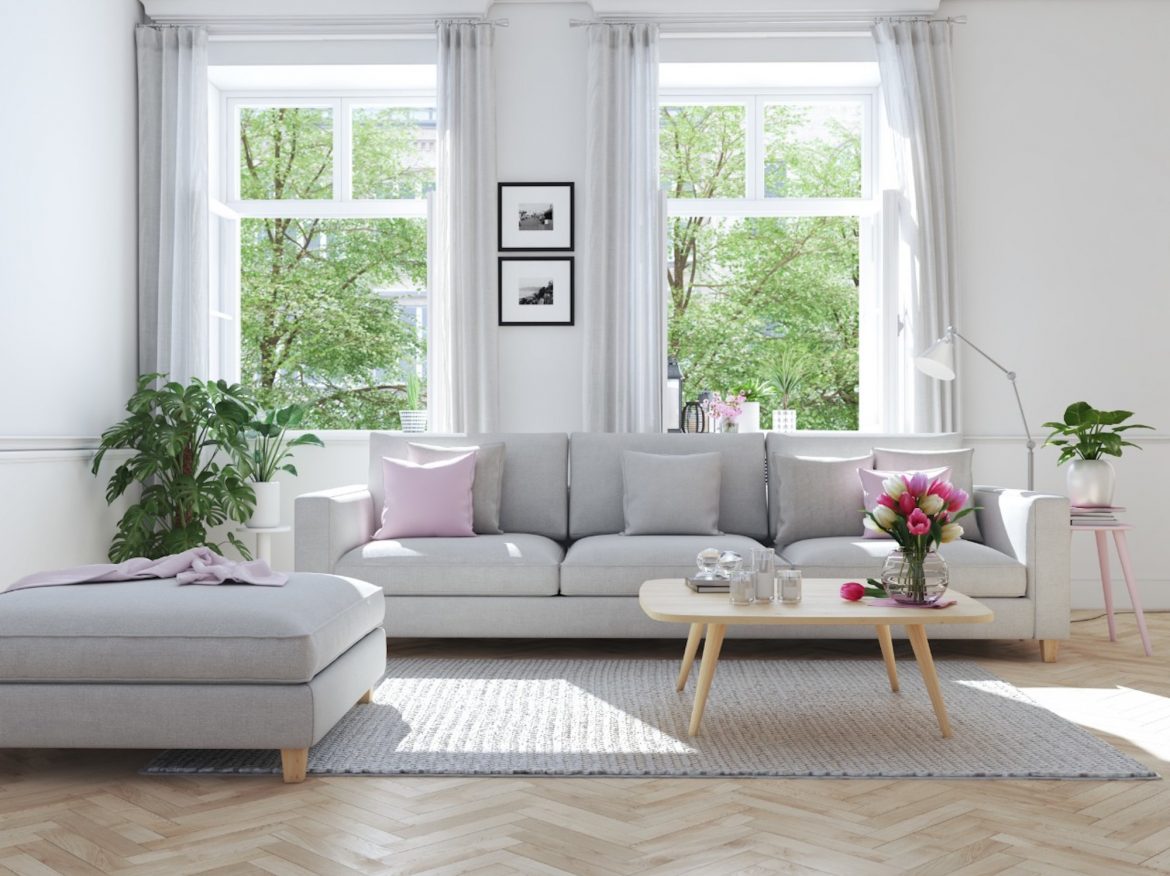
Adding some style to the rooms in your home could make your virtual tour stand out from the rest. Picture: Getty.
2. Plan your route & pick your spots
James Kirkland, from Upside Realty, said before filming, it’s wise to walk through the property a few times to plan the most logical path to follow.
“Start from the street, or the front door if it’s an apartment, and walk through your property in a way that flows most naturally. It can become disorientating following the lay-out of the house via video, so it’s a good idea to try not to turn back on yourself where possible,” Mr Kirkland said.
He added that when planning the route, find the best vantage points for each of the main spaces and look for a spot that gives a good indication of the entire space – it’s often the same place a photo would be taken from.
3. Get stable
There’s nothing worse than shaky footage, but it can be avoided. Most good smart phones have in-built stabilisers nowadays, but alternatively, an add-on stabiliser, also called a gimbal, can be purchased for about $100. A cheaper alternative, Mr Kirkland said, may be a selfie stick or tripod.
“The most important thing is to think about is the viewer when you are creating the footage. Consciously making camera movements slow and steady is the key to avoiding nausea-inducing footage,” he said.
4. Think about lighting
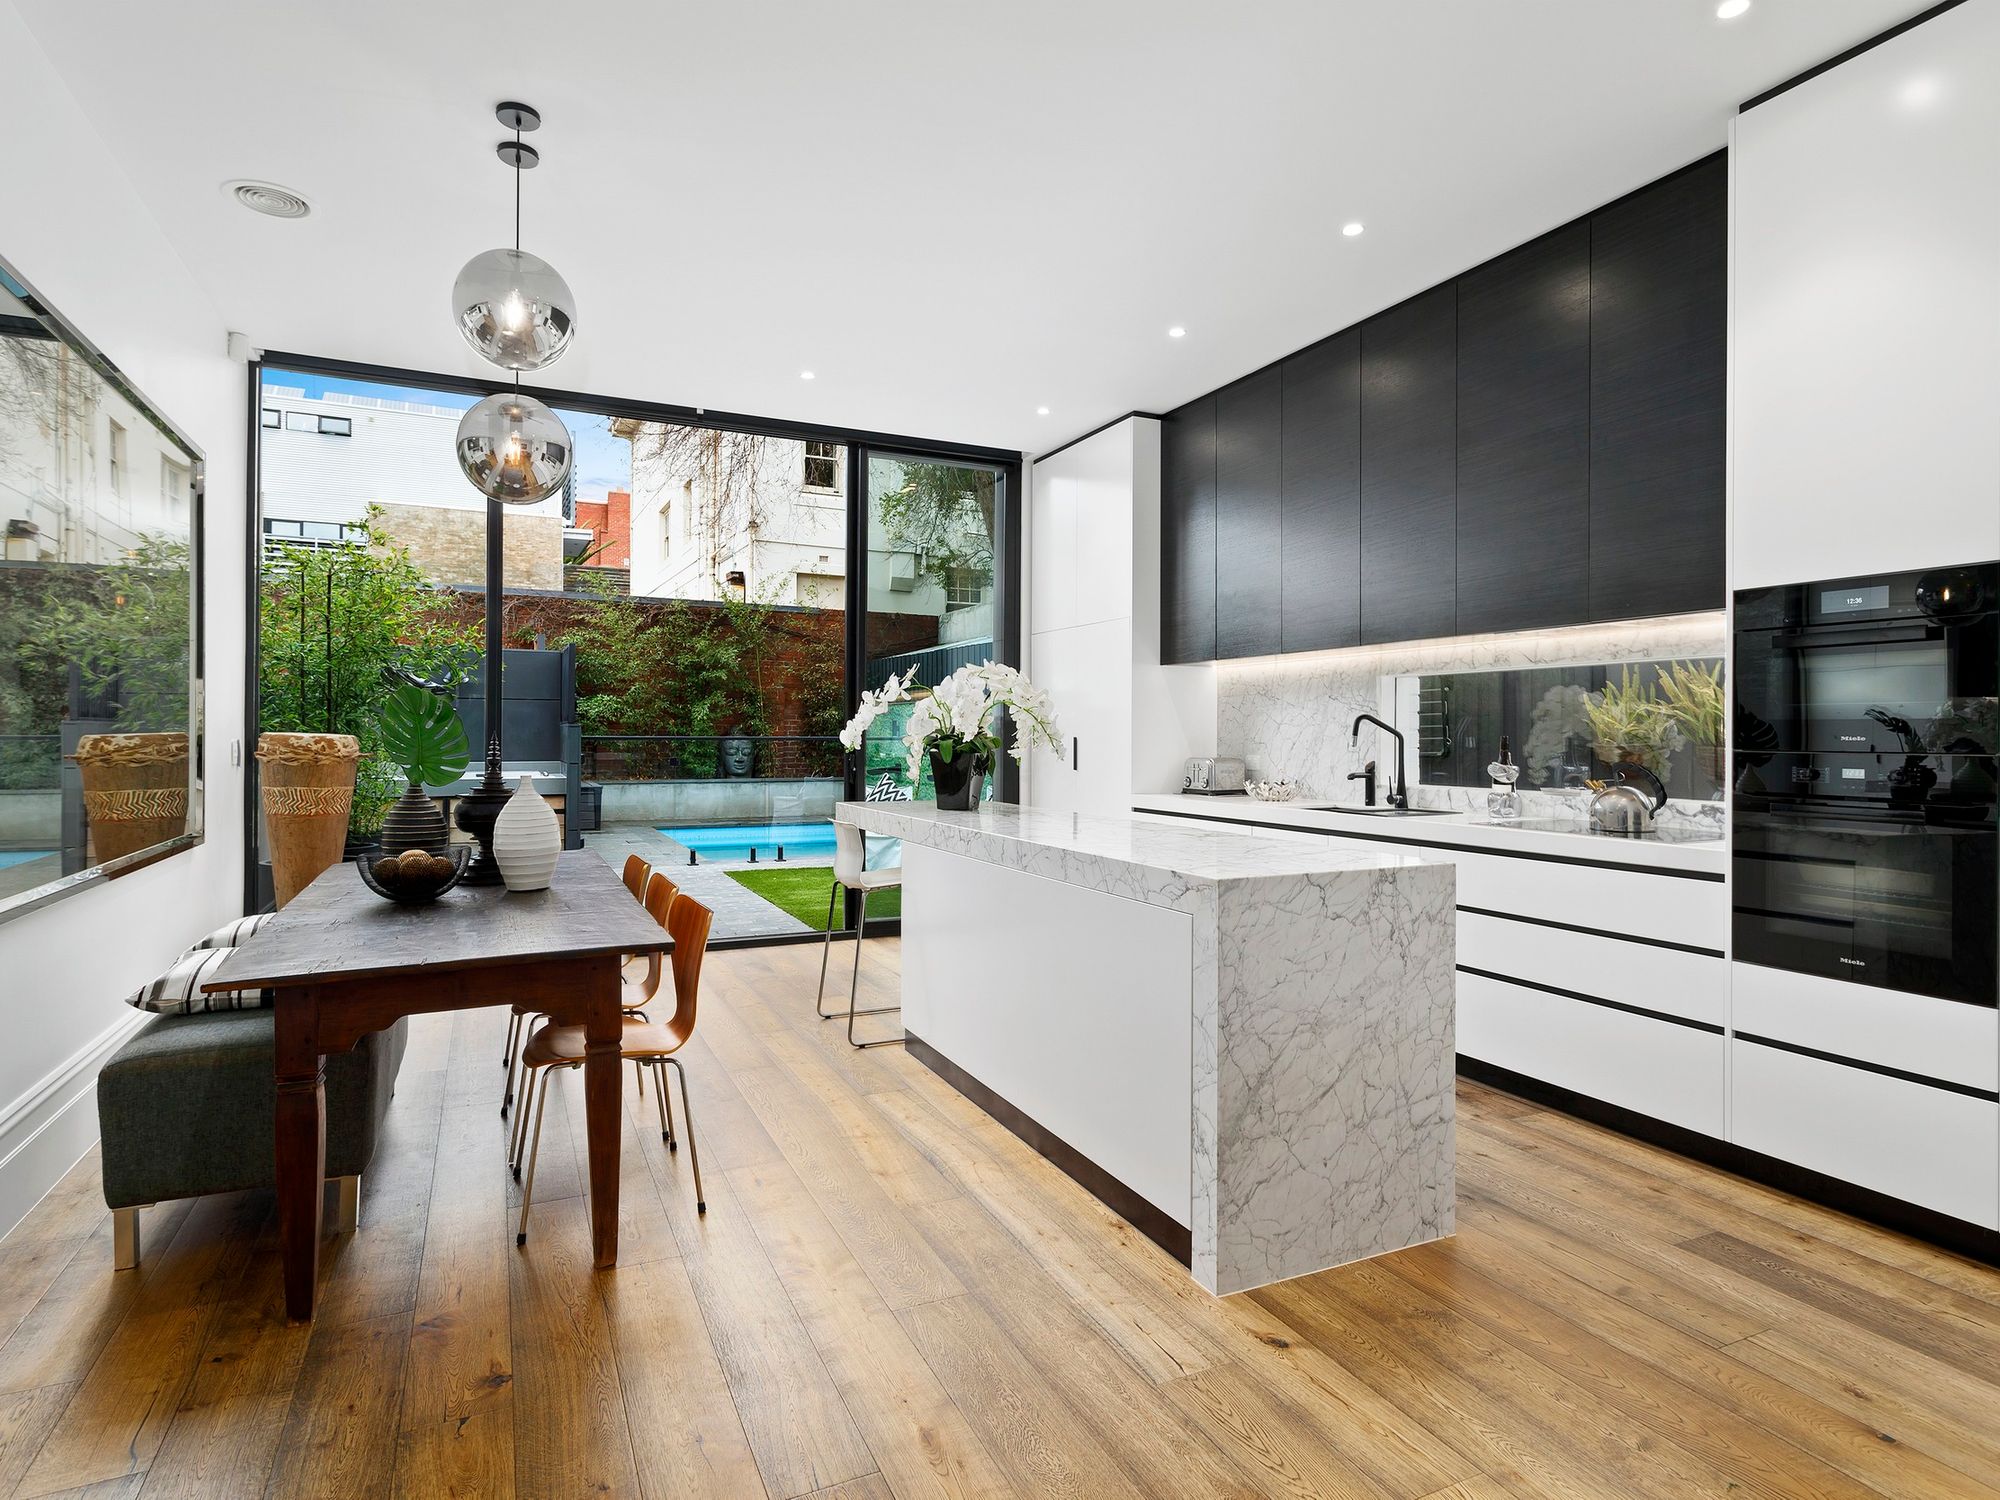
Stuart Greig, a Jim’s Real Estate franchisor, said lighting should also be a key consideration when taking footage of a home.

Mid-morning is often the most optimal time to capture the best light in your home. Picture: realestate.com.au/buy
“The best time of the day to shoot will depend on the direction the home faces. You don’t want to see shadows of adjoining homes filtering through the video and you also don’t want overshadowing of homes into your garden areas,” he said.
Mr Kirkland said the simplest way to think about it is: for outdoor footage, make sure the sun is facing the front of the property, and for internal, film when rooms are bright and the light feels natural.
“The safest time for this tends to be mid-morning when the light is clean compared to afternoon sun, which has more of an orange glow to it. Unless a room is bathed in light, it’s also a good idea to turn on internal lighting and open blinds to introduce more light,” Mr Greig said.
5. Focus on the positives
It seems obvious, but key to a winning virtual tour is filming the property in a way that shows off its best features, Mr Greig said.
“Think about what you love in the home and try to include those elements to shine through the lens of your camera,” he said.

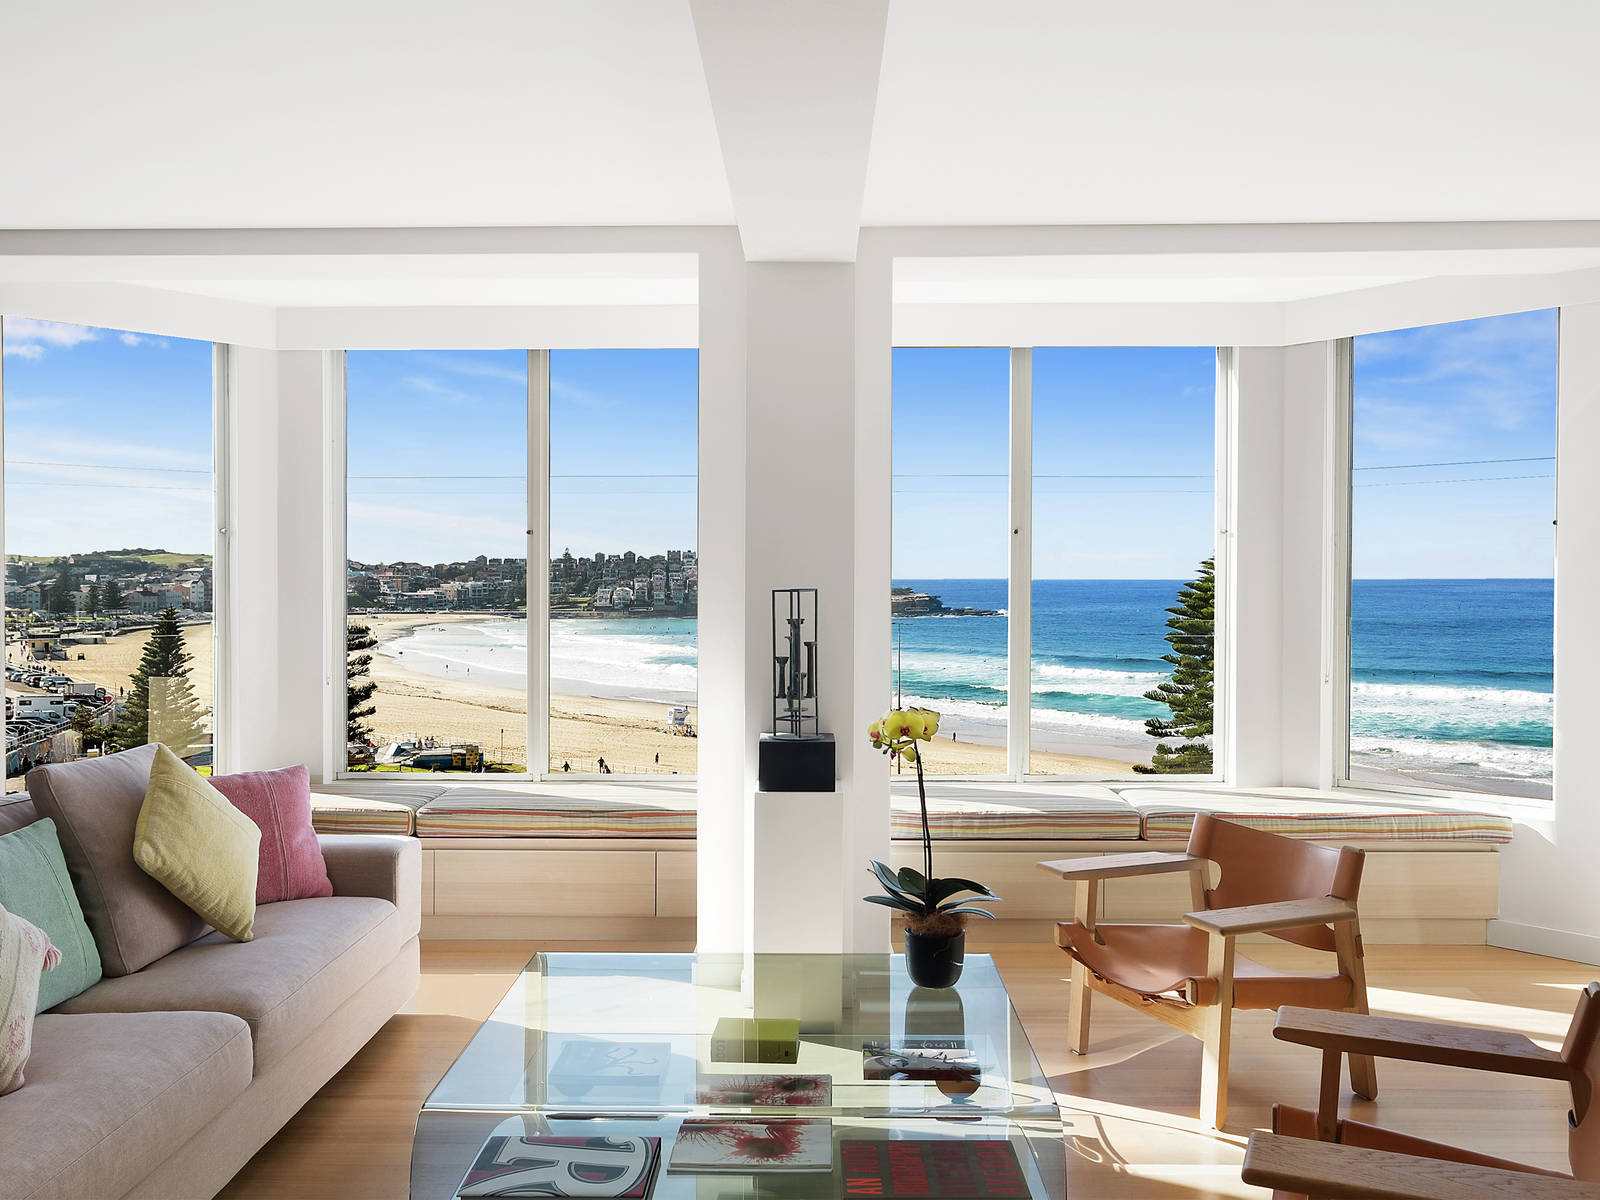
If you have great water views, make sure they feature in your virtual tour video. Picture: realestate.com.au/buy
Mr Kirkland said while during a normal inspection, a prospective buyer can look around the room, with a virtual tour, they only see what they’re shown.
“If you have amazing water views, they will only know this if you point the camera out the window. You know your property and its best features more than anyone else, so take the time to make a list of these features and ensure you show off the best ones.”
The post Five top tips for filming a winning virtual property tour appeared first on realestate.com.au.

